
Premium Home Automation Services and House Security Sound Comunications
Premium Home Automation Services and House Security Sound Comunications

Services
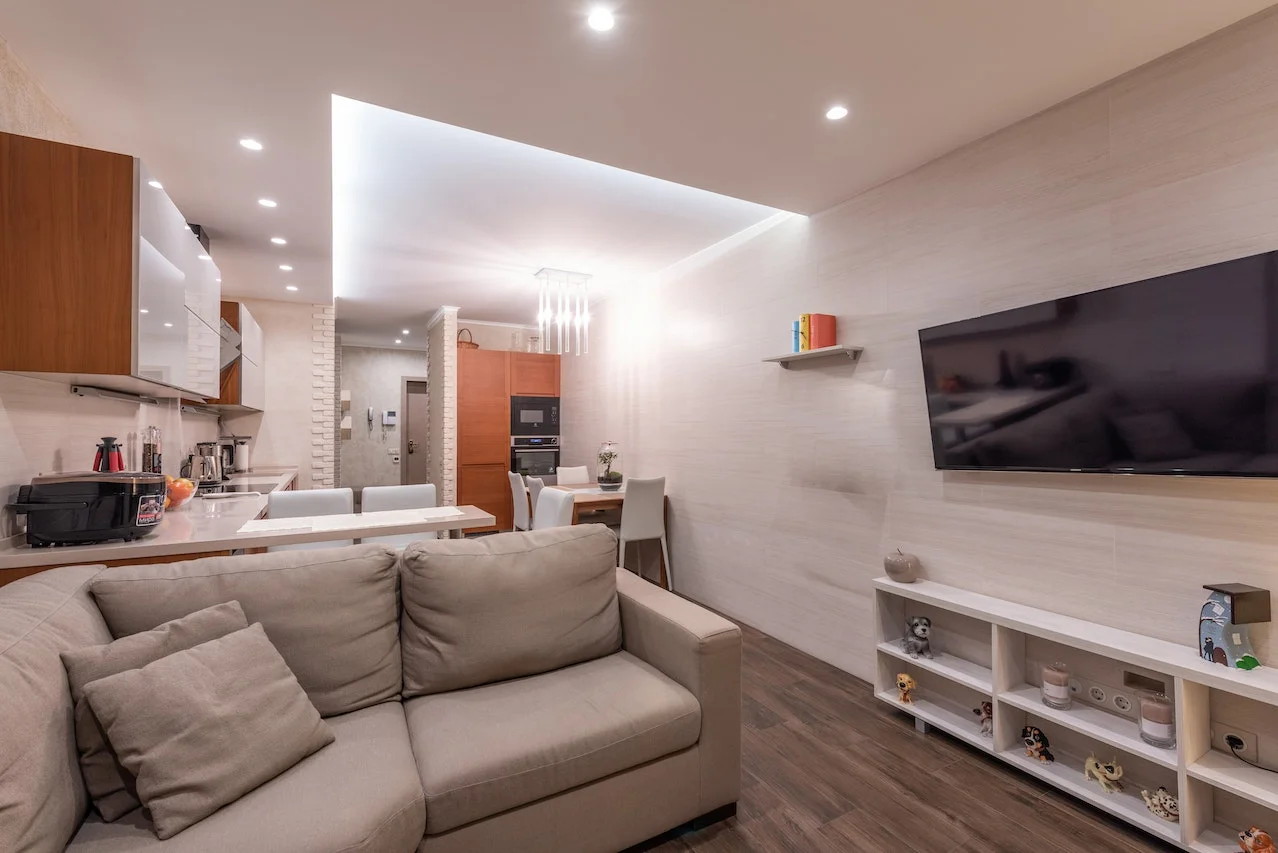
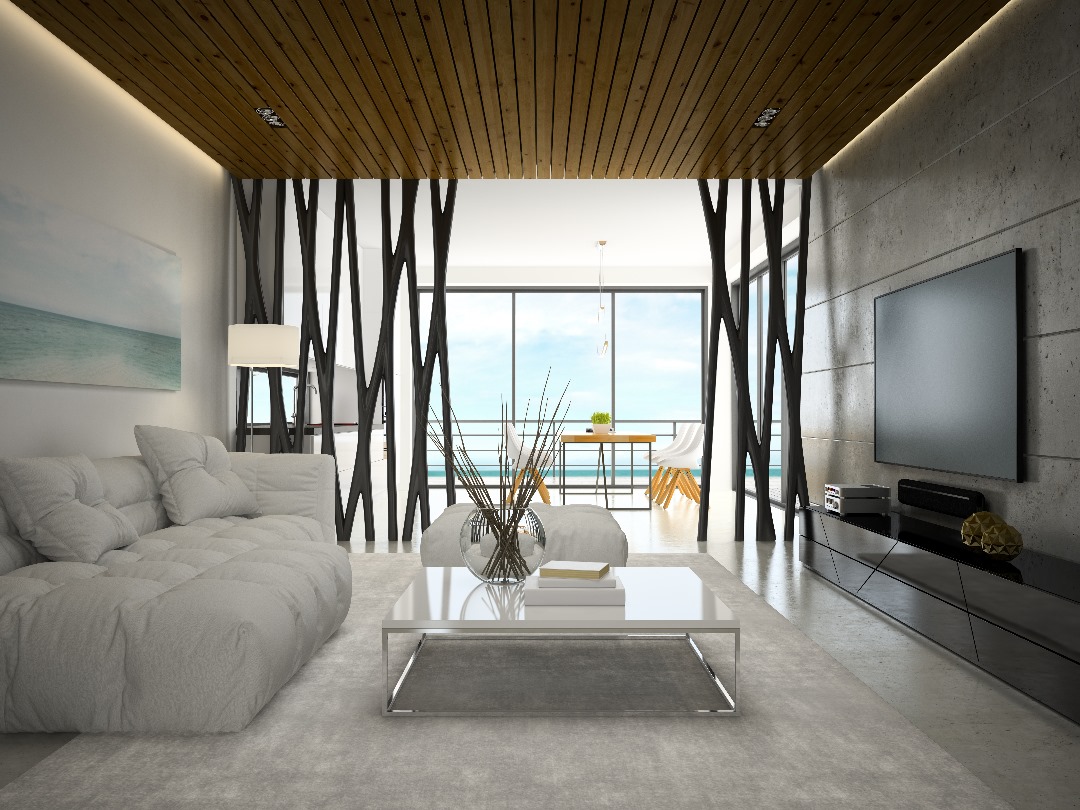
Entire Home System
Presenting our fully automated Smart Home features for your entire home:
- Audio Visual
- Lighting Control
- Custom AV Cabinetry
- Climate Control
- Automated Shades
- Central Vacuum
System Control
System Control is used to run and control a Smart Home according to your preferences and specifications.
Smart Phone, Tablet, and Computer control all of the systems—from anywhere in the world!
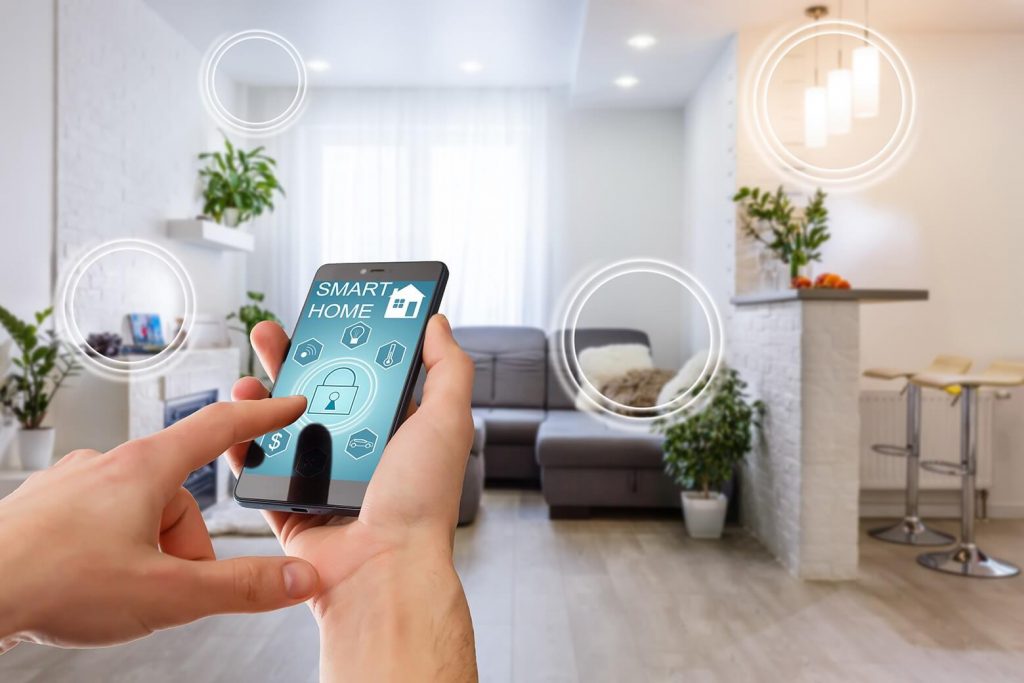
Wi-Fi & Networking
Presenting our fully automated Smart Home Systems equipping your home with smart and up-to-date technological advancements.
Sound Communications Inc. provides the following key features inside your entire smart home system:
- Residential
- Commercial

Outdoor Systems
Wanting an outdoor Home Theater? Sounds like a good idea. Providing automated pool temperature and irrigation control for different times and days is a necessity. Transforming your dream home into reality is what we specialize in. Automating home features and functions to make things easy for you is what we do.
- Outdoor Theater and Music
- Pool and Spa Control
- Irrigation Control
Security
Whether you are inside your home or outside, you should have peace of mind regarding the security of your home and its surroundings. Installing a well-designed and fully equipped home security system is a responsible task that we specialize in.
We’ll equip your property with the following services:
- Top-notch surveillance for fire, water, and smoke detection.
- Analyzed Smart Alerts.
- State-of-the-art control panels
- Cellular monitoring
- Entry Sensors and motion detectors at every entrance
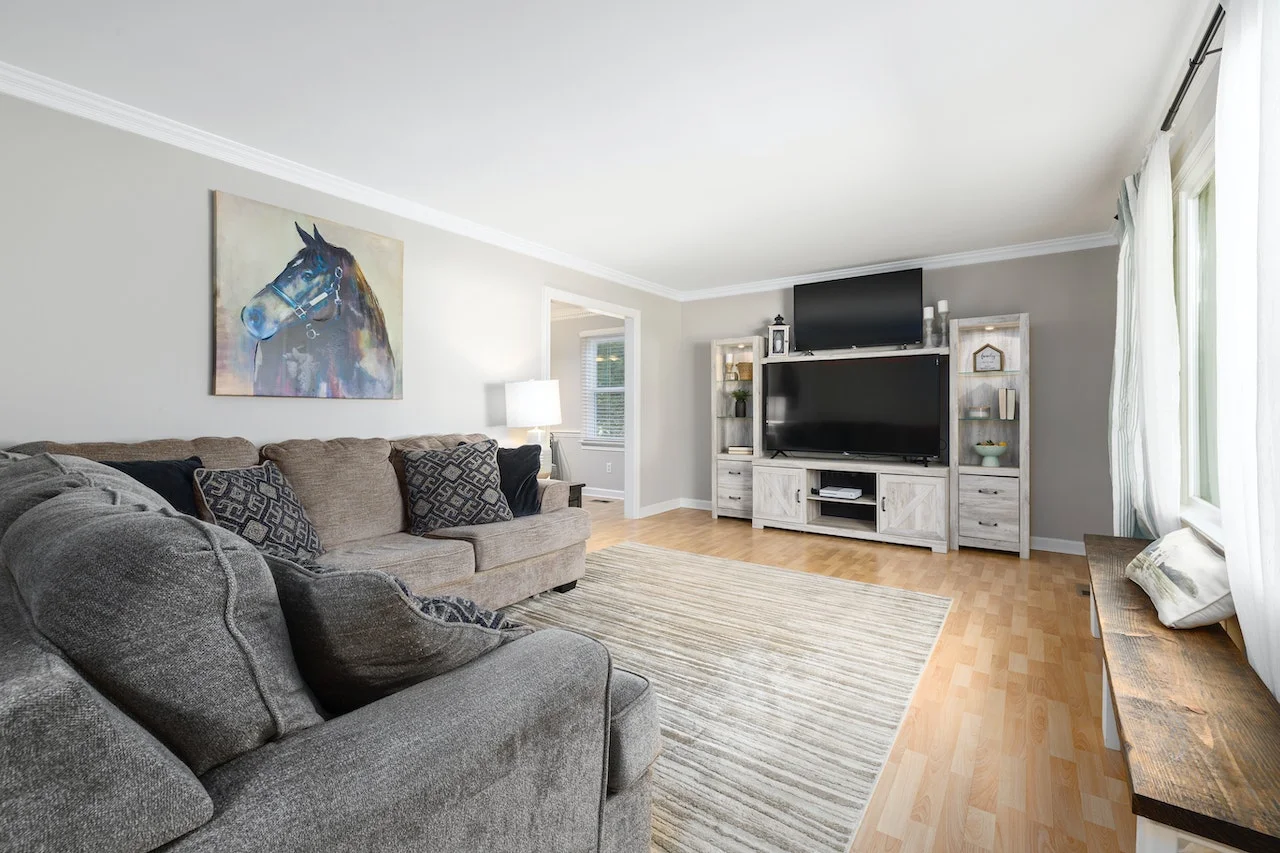
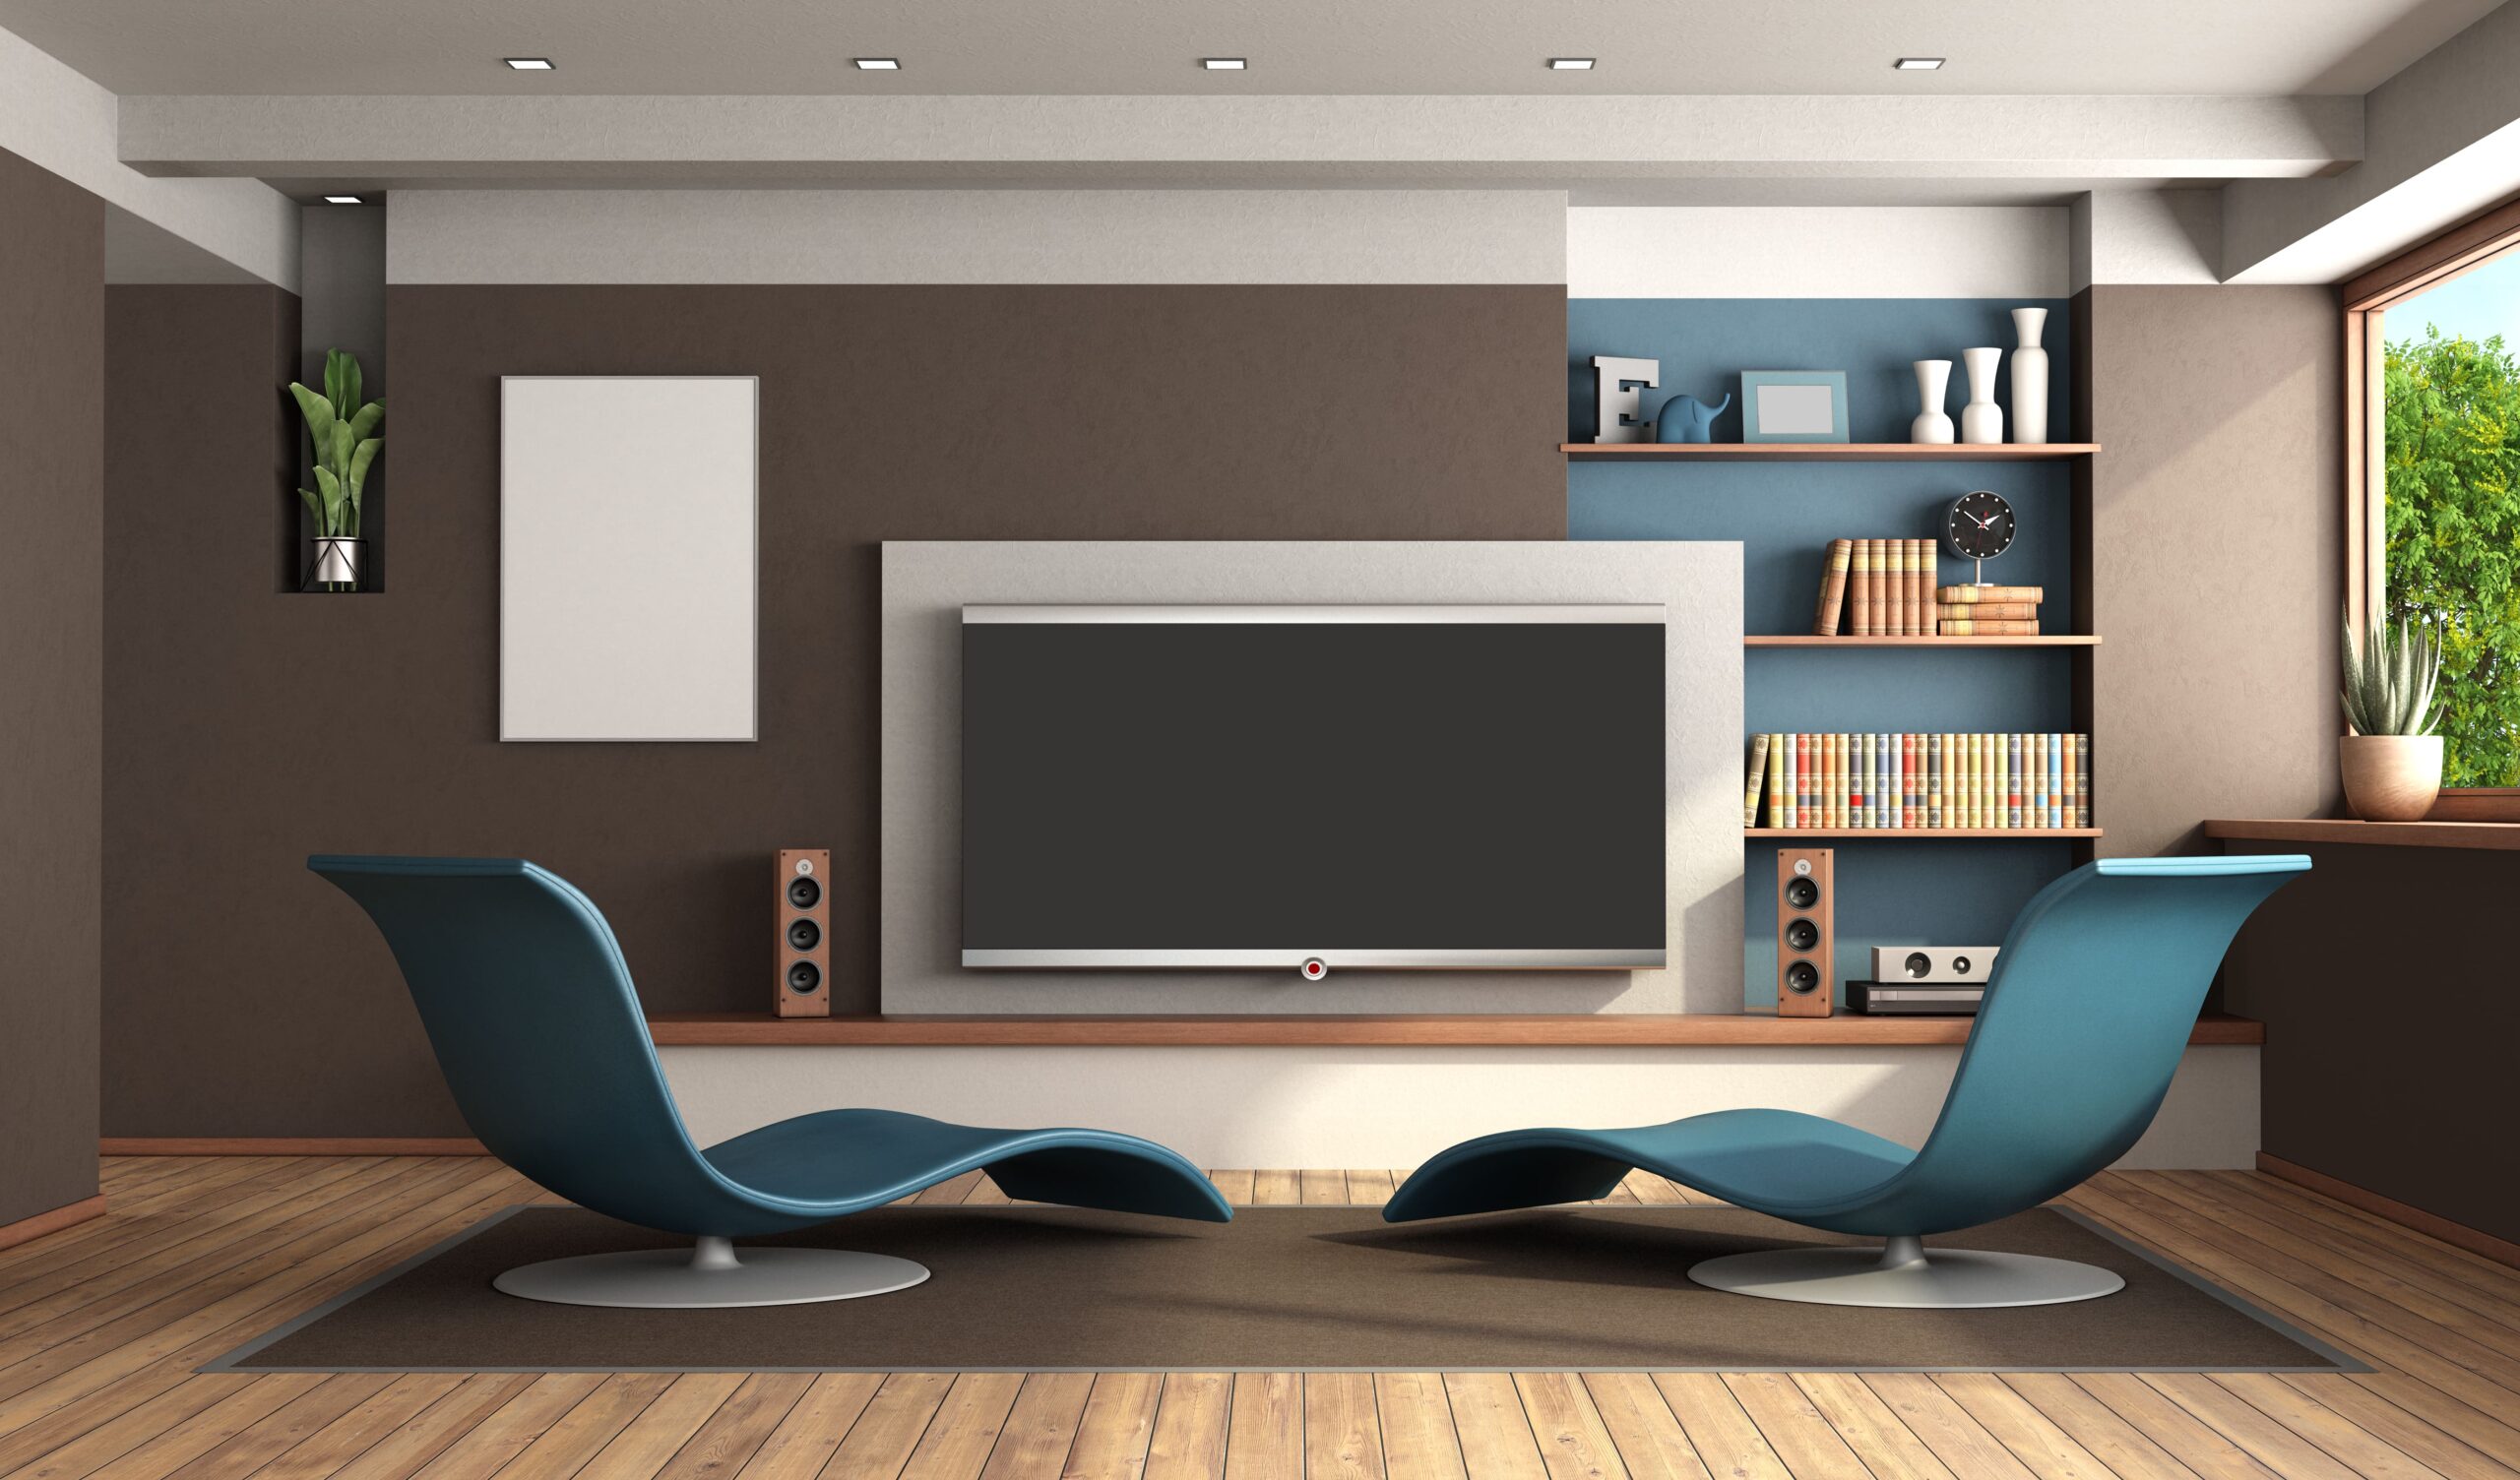
Home Theater
Our team of experts can consult, design and custom build a home theater to fit your space, budget, and imagination.
Enjoy these added benefits:
- Enhanced sound and acoustics experience
- Captivating sporting events viewing
- Engrossing video gaming
- State-of-the-art home value
Home Automation
Our team of experts can consult, design and custom build a home theater.